After moving from the scorching hot Arizona desert to a place with four distinct seasons, a fireplace was at the top of our new house wish list. We were excited by the idea of having a cozy spot to gather around on a cold winter night. Luckily, fireplaces are very common here in northern Alabama so it was not hard to find a home with one.
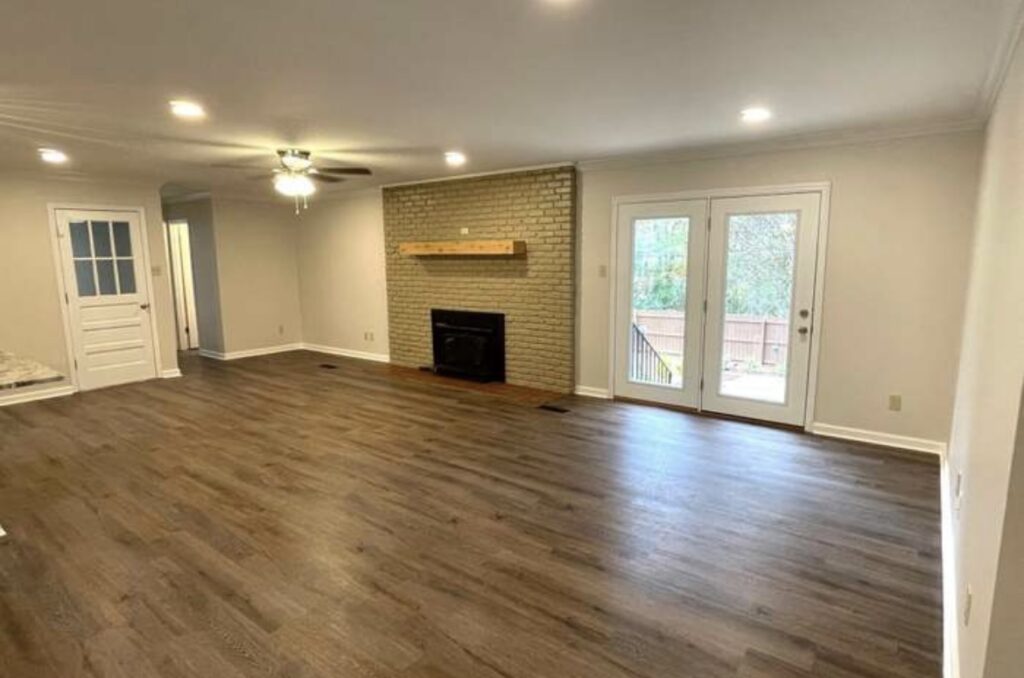
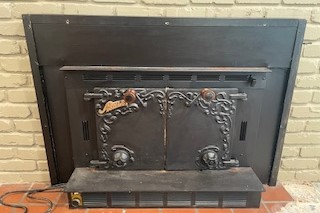
The fireplace in the house we ended up buying was just not our style. We bought our home from house flippers who thought painting all the beautiful red bricks a shade of corpse-like beige was a good idea. It also had a firebox that probably heated the house like nobody’s business, but it didn’t allow for the vision of flames dancing in the fireplace that we were hoping for. So, we decided the first project we would tackle in our new home would be the fireplace.
Apparently, I Look Like An Idiot
My husband and I didn’t have much fireplace knowledge and weren’t sure if it was possible to just take out the huge firebox and replace it with an insert that we liked better. So, while we had a contractor come out to our house to give us some estimates on a couple of other projects, I told him my fireplace idea and asked if he could help. Well, this guy tells me it would be nearly impossible, but if I really wanted to make that change, they would have to rebuild the entire chimney. Oh, and that it would cost $7,000!!
After the guy left, I felt a moment of discouragement, but I also thought there was no way that was right. I did a little bit of research, and so did my husband, and found that we shouldn’t have to rebuild the chimney – we couldn’t really figure out why he even suggested such a huge undertaking. We decided that the contractor thought I looked like an idiot with a never-ending supply of money – neither of which are true. So, we decided to do the work ourselves.
IF what the contractor said was true, we would just leave the firebox as it was, but paint the bricks and replace the hearth tile. But we hoped that would not be the case.
Demo Time!
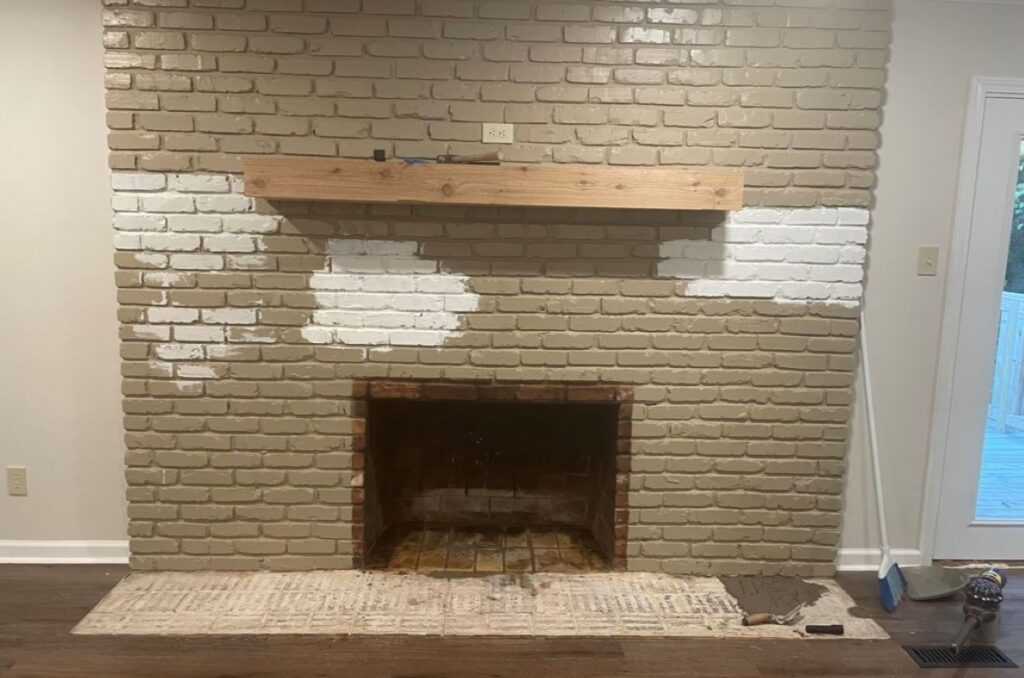
We started our DIY fireplace refresh project by tearing out the hearth tile and taking down the mantle. The tile came up without any issues and the floor beneath was in good shape and ready for something new.
Next came the hard part, removing the giant firebox. That thing was heavvvyyy! We ended up selling it on Facebook Marketplace for $350. Looking back, we probably could have gotten more. The couple who bought it drove 2 ½ hours for it, and we had 4 other interested parties ready to pounce if they didn’t show up. Oh well. We used that money to hire a chimney sweep to clean and inspect the fireplace. The chimney sweep was the nicest man and reassured us that we did not need to rebuild the chimney. Phew!
Two Coats of Paint Made a World of Difference

As much as I wanted to cover the bland paint with one of the dark, moody paint colors of the year, we decided to go with white. Yes, it’s boring, but our home doesn’t get a ton of natural light, so we were afraid that going too dark would create a cave-like feel.
So, to the paint store we went to find the perfect shade of white. We ended up with the tried and true Swiss Coffee from Benjamin Moore. We did two coats to increase the brightness and shine – the paint alone made a huge difference!
The Easiest Part of our Fireplace DIY
For the hearth tile we chose something that would be easy to decorate around but still had some character. I wanted it to pair well with the vintage rug in the living room but not be too matchy-matchy.
Installing the tile was quick and easy and luckily only required a couple of cuts. I think this part of the project only took a couple of hours.
Pleasantly Surprised By the Mantle
I hated the mantle. Hated. It. The color was awful and it is placed too high for my liking. Unfortunately, mantles are expensive. Like $300 and up. So, reluctanltly I agreed to stain the existing mantle a darker color to add depth to the all white paint. And I am still shocked at how much I like it!
I stained the mantle using Black Classic Wood Stain by Varathane. It went on easy and allowed some of the character from the wooden mantle to show. I ended up doing three coats with some light sanding between coats.
Bringing It Home
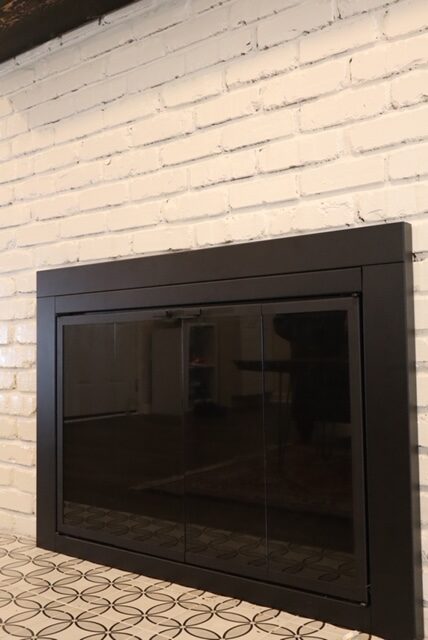
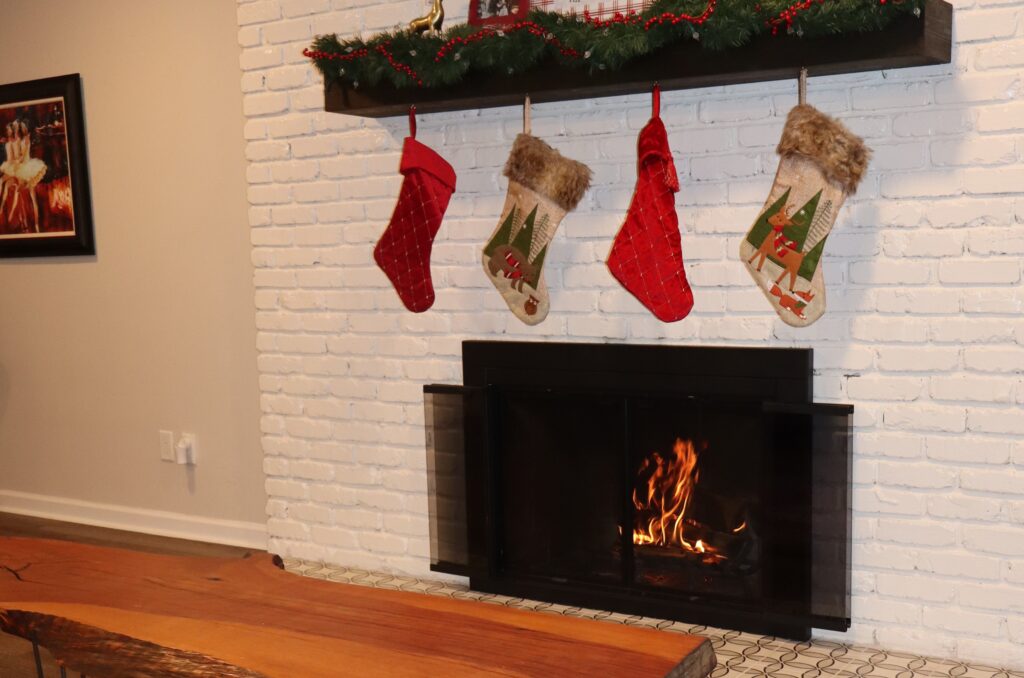
Finally – the part I’ve been waiting for! We found the perfect fireplace cabinet with glass doors on Wayfair. It was easy to install and fit perfectly. We love how simple yet elegant it looks in our living room, and really made the entire space look more modern. It has bi-fold glass doors and mesh screen panels which give me a little bit of peace of mind that one of my kids won’t fall in the fire. (Don’t yell at me – I watch my kids and don’t let them play with fire – but an extra level of safety is never a bad thing.)
The End Result of our Fireplace DIY

Here is it is! Our Fireplace DIY is complete. I love that it is simple and elegant, but blends in nicely with the rest of our open-concept living room and kitchen space. It is easy to decorate and I love changing out the mantle decor for each season or special occasion. It’s also the perfect setting for an end of the day glass of wine with my husband or for reading a good book on a cold day.
Overall, this was an easy DIY project – surprisingly no issues came up and once we had all the materials we were able to complete the fireplace DIY in one weekend!
The total cost came out to just over $750 – a far cry from the $7,000 quote the contractor gave us.
Stay tuned for our next DIY project…
2 responses to “Our Fireplace DIY Refresh”
-
Love the outcome !
-
What a fun transformation!

Leave a Reply